 I have had alot of questions about patterns and how they are made. Earlier I have showed different ways to get started as a pattern designer, here, here and here.
And now I will show you again, so that all of you get the chance to try just how easy it actually is! What you need is a drawing, or pen and paper. A scanner and photoshop and a printer.
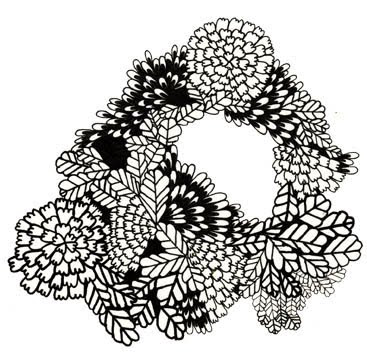
Step one for me is that I find some different shapes that I would like to build the pattern from. In this pattern I´m working with 3 different shapes: the leaves, the drops and the flower as u can see in the scetch above.
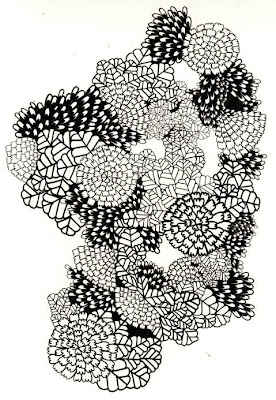 I take a new paper, I chose A4 so that it will fit my scanner, it´s possible to work on bigger papers, like I´ve done here. But it´s not a good way to get started. Another option is to just take a drawing and scan it, it has to be one thats only in the middle of the paper otherwice the tool won´t work. Then I draw and when I feel like testing how it´s repeating I scan my drawing into photoshop. It´s possible to draw and fill almost the whole paper, just remeber to leave the sides!
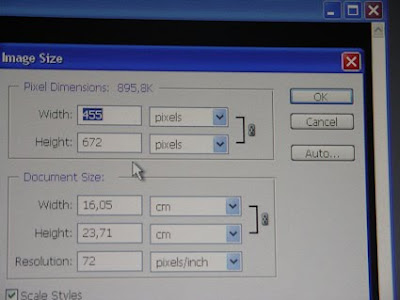 Then I go to the image size box to find out exactly how many pixels big my image is. I take the numbers and dived them by 2. 455/2=227,5 and 672=336. I write down the numbers on a paper.
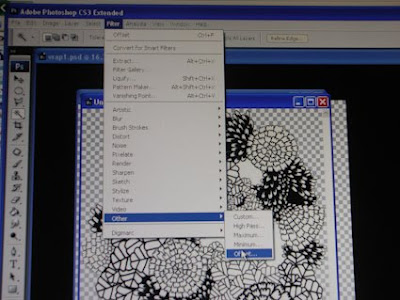 Then I go to "Filter", "other" and "offset". In the box I write the numbers and I round up the 227, 5 to 228 to make it easier. then I klick the "wrap around" box and enter.
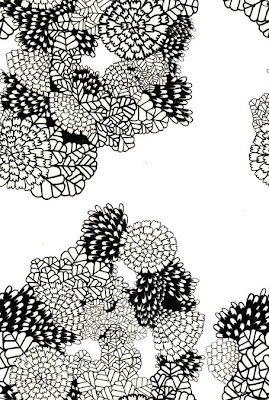 And I get this result. The image splits itself into 4 and the middle of the drawing is now out on the sides.
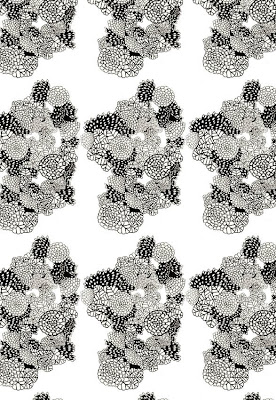 Next step is to make a new document, make sure it has the same resolution as your old one.
Make it as big as the space you would like to repeat your pattern over. Then just drag the original image into the new document, repetedly, until it´s filled. (or copy layers if you think thats easier)
And it´s done.
 Or atleast first round. I think this pattern needs more work cause it´s to much gaps and it´s not repeating nice. So what I do now is that I make the canvas of my "original" a bit bigger and then I Print it. And then I continue to draw IN THE MIDDLE of the drawing...
But that I will show you tomorrow!


8 comments:
Bra bra, tack!
NIIIIIIIIIIIIIIIIIIIIICE...I made a link to this post...sorry I didn´t come around to it last time (trying to make my own pattern)...
SO cool...and I love your new header girl...:)
wish i had photoshop. It's still really interesting, thanks for the info. Also, I really love your new banner :)
japp! håller också med om bannern... finfin.
och lite skolflicksromantisk.
thank you cecilia for showing us how to do this! i can't wait to try it.
Så FEDT!! Jeg er en dør til mønstre på computeren..
So cool to see how you do this! Thanks for sharing!
Super lesson, many thanks!! Will give it a go soon!
Post a Comment