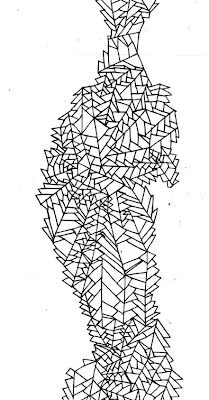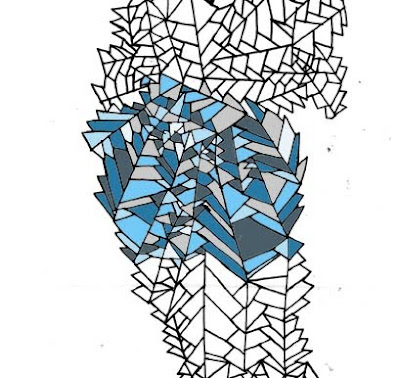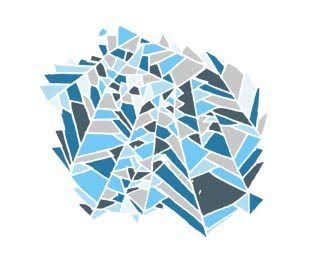

 I´m working again. Finally. After many weeks of just thinking I´m drawing and feeling happy. I recently learned how to use the layers in a more effectivily way in photoshop, so great.
How it´s done:
Just scanned top drawing into photoshop.
1. make a new layer, name it (blue)
2. go back to background layer, use to magic wand tool (W) and select the areas you would like to fill with first color, use shift to choose more than one.
3. Use the paintbucket tool (G) and choose one color, then go to new layer (blue) and just fill and woops, the selected areas will be filled in a new layer (blue).
4. Do this over and over again to fill up each color. The result would be something like my middle image.
5. when your done you can easily make the background layer invisible by just hiding it (click away the eye) and then you get what I got in the third image. To get the background white after taking away the original background u just make a new layer and multiply it, then fill it with the background color you wish.
This way of working comes very handy when I´m working with patterns, it´s very easy to change the colors. The only thing to remeber is to save the selections of each layer and then just go to that specific layer and load selection to fill with a new color ( paintbucket tool, G).


5 comments:
That's so fabulous Cecilia! I'm so glad to hear I'm not the only one still discovering functions on Photoshop ;) Funky illustration. K
the possibilities are endless... and sometimes overwhelms me :)
Det här ser spännande ut!
Kylie: I´m not that good at photosshop but I´m planning to be:)
Nathalie: I wish I knew more about the possibilities, i use it very basicly.
elisabth: tackar!
Now you know why I have made a lot of photoshop colored multomix illustrations...hihi...Looks supernice...and yes its easy to erase...(not that easy with our nice markers ;( Ay?
Post a Comment